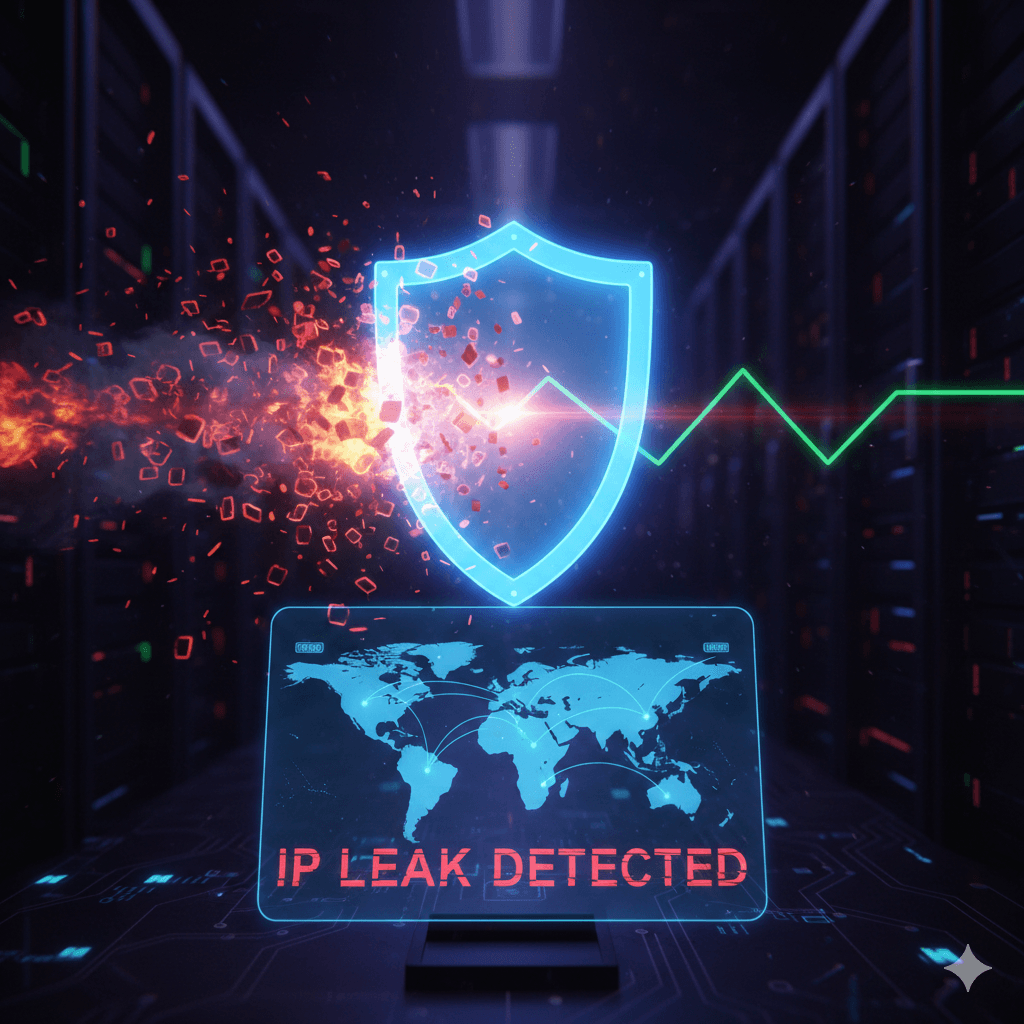
If you rely on a VPN (Virtual Private Network) for privacy, the last thing you want is for your real IP address to be exposed. An IP leak defeats the entire purpose of using a VPN or other privacy tools like a proxy server. A leak can occur due to misconfigured VPN software, a poorly set up router, or flaws in certain web technologies like WebRTC.
Learning how to check for IP leaks is essential for maintaining your online anonymity. This guide walks you through the simple, direct steps to confirm if your connection is secure.
🔑 Why is Your IP Address Leaking?
An IP address leak means your device is broadcasting your actual location and identity (assigned by your ISP) rather than the one provided by your VPN service. The main culprits are:
VPN Software Errors: The VPN’s “kill switch” feature might fail, or the software might not be handling the network connection handover properly.
DNS Leaks: Your computer might bypass the VPN’s encrypted tunnel for DNS requests, sending them directly to your ISP’s DNS servers. This reveals your ISP and location.
WebRTC Flaws: WebRTC (Web Real-Time Communication) is a technology built into most modern browsers that can, under certain circumstances, bypass VPN settings to discover your private and public IP addresses.
Router Misconfigurations: Less common, but a poorly configured router or modem can sometimes interfere with the VPN connection, particularly in how it handles specific protocols.
✅ The Essential Steps to Check for an IP Leak
Before you begin, make sure your VPN is disconnected. This is your baseline, your true IP address before the protection is turned on.
Step 1: Identify Your True IP Address (Baseline)
First, you need to know what you are trying to hide.
Disconnect your VPN.
Open a browser and use a tool like [What Is My IP] to instantly see your public IP address, the one your ISP assigned you.
Note this address down. This is your unprotected IP.
Step 2: Check for a Successful VPN Connection
Now, turn on your VPN and ensure it shows a connected status. Your VPN should now be tunneling your traffic through a remote server. The IP address shown by [What Is My IP] should now match the location of the VPN server you chose.
Step 3: Run an IP Address Leak Test
This is the core test. You need to see if your true IP (from Step 1) is visible while the VPN is connected.
With your VPN connected, visit a dedicated IP leak testing tool. Many VPN providers offer these, but independent sites are also available.
The tool will display several IP addresses it detects.
The Result: If the detected IP is the same as your unprotected IP from Step 1, your VPN is leaking your IP address. If the detected IP matches your VPN’s server location, you have passed this check.
🔎 Checking for Specific Leak Types
Sometimes the primary IP check is clean, but a secondary check for specific types of leaks will expose a flaw.
1. The DNS Leak Check
DNS (Domain Name System) translates website names (like https://www.google.com/search?q=google.com) into their numerical IP addresses. A DNS leak occurs when these requests are sent outside the encrypted VPN tunnel.
Keep your VPN connected.
Go to a DNS leak testing website.
The tool will display the DNS server IP addresses it detects.
The Result: You should see DNS servers owned by your VPN provider (or servers located in the region of your VPN server). If you see the name or IP addresses of your ISP’s DNS servers (often matching your original location), you have a DNS leak.
2. The WebRTC Leak Check
WebRTC can sometimes be exploited by browsers to reveal your real IP address, regardless of a VPN connection.
Keep your VPN connected.
Visit a WebRTC leak testing website.
The tool attempts to initiate a WebRTC connection.
The Result: Look at the displayed Public IP Address and Local IP Address. If either matches your unprotected IP from Step 1, you have a WebRTC leak. You may need to use a browser extension to disable WebRTC to solve this.
🛠️ Internal Linking for Better SERP
You can further analyze your connection and the security of a website you visit using our tools:
[HTTP Header Check]: Understand the security information your browser is sharing with websites.
[Traceroute]: See the path your network traffic takes to reach a destination and ensure it’s going through your VPN’s server first.
💡 What to Do If You Find a Leak
If any of these tests show a leak, take immediate action:
Check VPN Settings: Ensure the Kill Switch feature is enabled. This feature is designed to block all internet traffic if the VPN connection drops, preventing an IP leak.
Try a Different Server/Protocol: Switch to a different VPN server or change the connection protocol (e.g., from OpenVPN UDP to TCP).
Contact Support: If the leaks persist, contact your VPN provider’s support team for specific guidance on your software and device.
Consider a New Provider: A high-quality VPN service will actively prevent and fix these common IP and DNS leaks.